Tuesday, January 22, 2019


Thursday, January 17, 2019
Saturday, October 10, 2015
Broom Parking

The hat and the broom are stamped on and then I used embossing powder on them. The lettering was done with a Color Burst FABER-CASTELL marker. These are nice because they allow you to write on dark colors. I also like it because I didn't have to try and hand paint the lettering. The toad was cut out on my CRICUT machine, I used the Potions and Spells cartridge.
Total time to finish not including drying time for paint, was less than 1/2 hour.
Thanks for dropping by. Come again soon. If you like my blog please share with your friends.
Deanna
The Halloween Count down I made for my daughter

The same materials were used on both.
Friday, October 9, 2015
When Witches go riding Halloween count down.

I see these on the different sites. But I can't see paying for something I can create myself. It turned out just like I wanted. I am working on a second one for my daughters house.
How I did it.
1. I got the board from a church discount store for $1.25 . It had some kitchen saying on it, This is 8" x 18" by 1 1/2" deep.
2. I painted the whole thing with black craft paint. I then painted an area with black chalkboard paint. It's big enough for the pumpkin I cut out to fit on ( I cut the pumpkin like we used to do hearts in school, fold paper in half and cut shape this way your sides are the same.)
3. I then painted the whole thing orange holding my pumpkin in place with one hand while painting around it. You want to paint from on top of the pumpkin pulling out onto the board. Otherwise you get paint underneath the cut out.


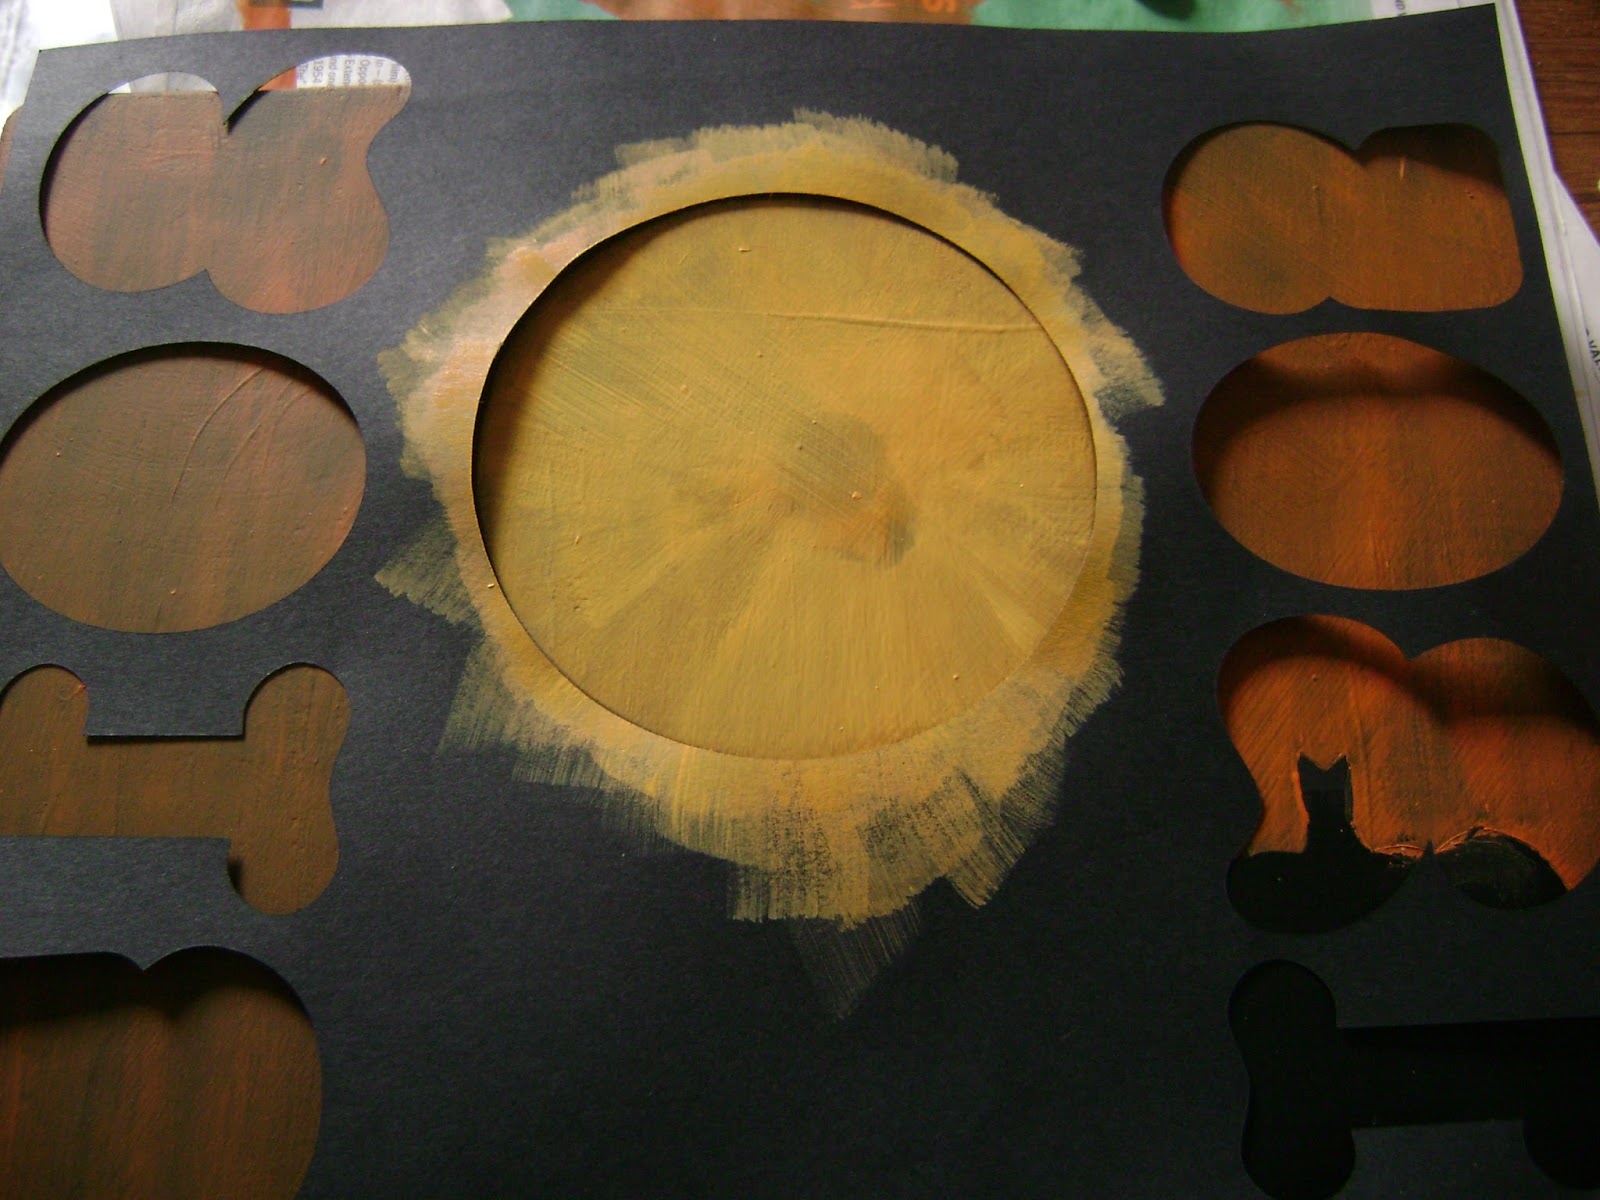


7. With black craft paint I then painted over the sharpie writing and the trees.


Deanna
Subscribe to:
Posts (Atom)