Pages

Sunday, October 4, 2015

Small Haunted Cemetery 13" tall on a 6" wood base.

First I was just going to do a little cemetery. Thought it would be cute for my Halloween display. But anyone who know's me, knows I can't just do anything simple. I always seem to have to over do it. Oh well it turned out cute as ever and I love it!

What I used:
1. a 6" wood circle from Hobby Lobby craft dept.
2. Black spray paint
3. Very small detailed branches from my yard. I cut mine at about 13"
4. Glue gun and glue sticks.
5. Black, Gray and Green craft paint and a  Paint brush.
6. Thin card board I used priority mail box that I had from a package I recieved.
7. Cricut machine to cut my House, Spooky gate, and the fince. You could not use these and draw out and cut your own items. Or just do the cemetery with the trees.

What I did:
1. Spray painted my branches black ( Follow directions on can) I used Walmart brand flat black. .99 cents a can.
2. Paint the 6" wood circle black with black craft paint. Let dry
3. Glue branches onto wood circle.


4. Draw and cut out your tomb stones. mine are all about 1" tall. I cut 2 of each from the thin cardboard and glued them together to create the thickness I wanted.
5. Paint them gray with craft paint. I used a green ink pad to enhance the edges but it can be dry brushed a little green around each one to make it look old.
6. Hot glue tomb stones onto wood circle. I did 3 on each side. I would have used more if I stayed with the cemetery only theme.
7. I added green flocking around my trees and then my tomb stones. If you can't find flocking ( I purchased mine at Michael's quite a while back I'm not sure they carry it anymore) you can use green paint or just cover your hot glue that is visible with black paint.
8.With my Cricut machine I cut my house at 12" and added some velum paper to the back to cover the windows.
9. My fince I cut at 1 1/2" the spooky gate was cut at 3"
10. I hot glued these items to the outside edges of  the circle.

11. I used my hot glue gun to create small miss shaped rocks for my walkway from the gate to the Haunted house. When they dried I painted a little craft glue on each one and covered them with the green flocking. Again you could paint them what ever color you want. or not make any at all. 
THATS IT!
I found this display so charming and cute. it really is so small. I hope you enjoyed the house tour. If you share this please link back to or share the information to my blog. 
Thanks for dropping by. Hope to see you soon.
Deanna

Glitter Acorns for Fall

What I used:
1. Acorns from my friend Val's house. She lives in acorn heaven.
2. Glue gun and glue sticks
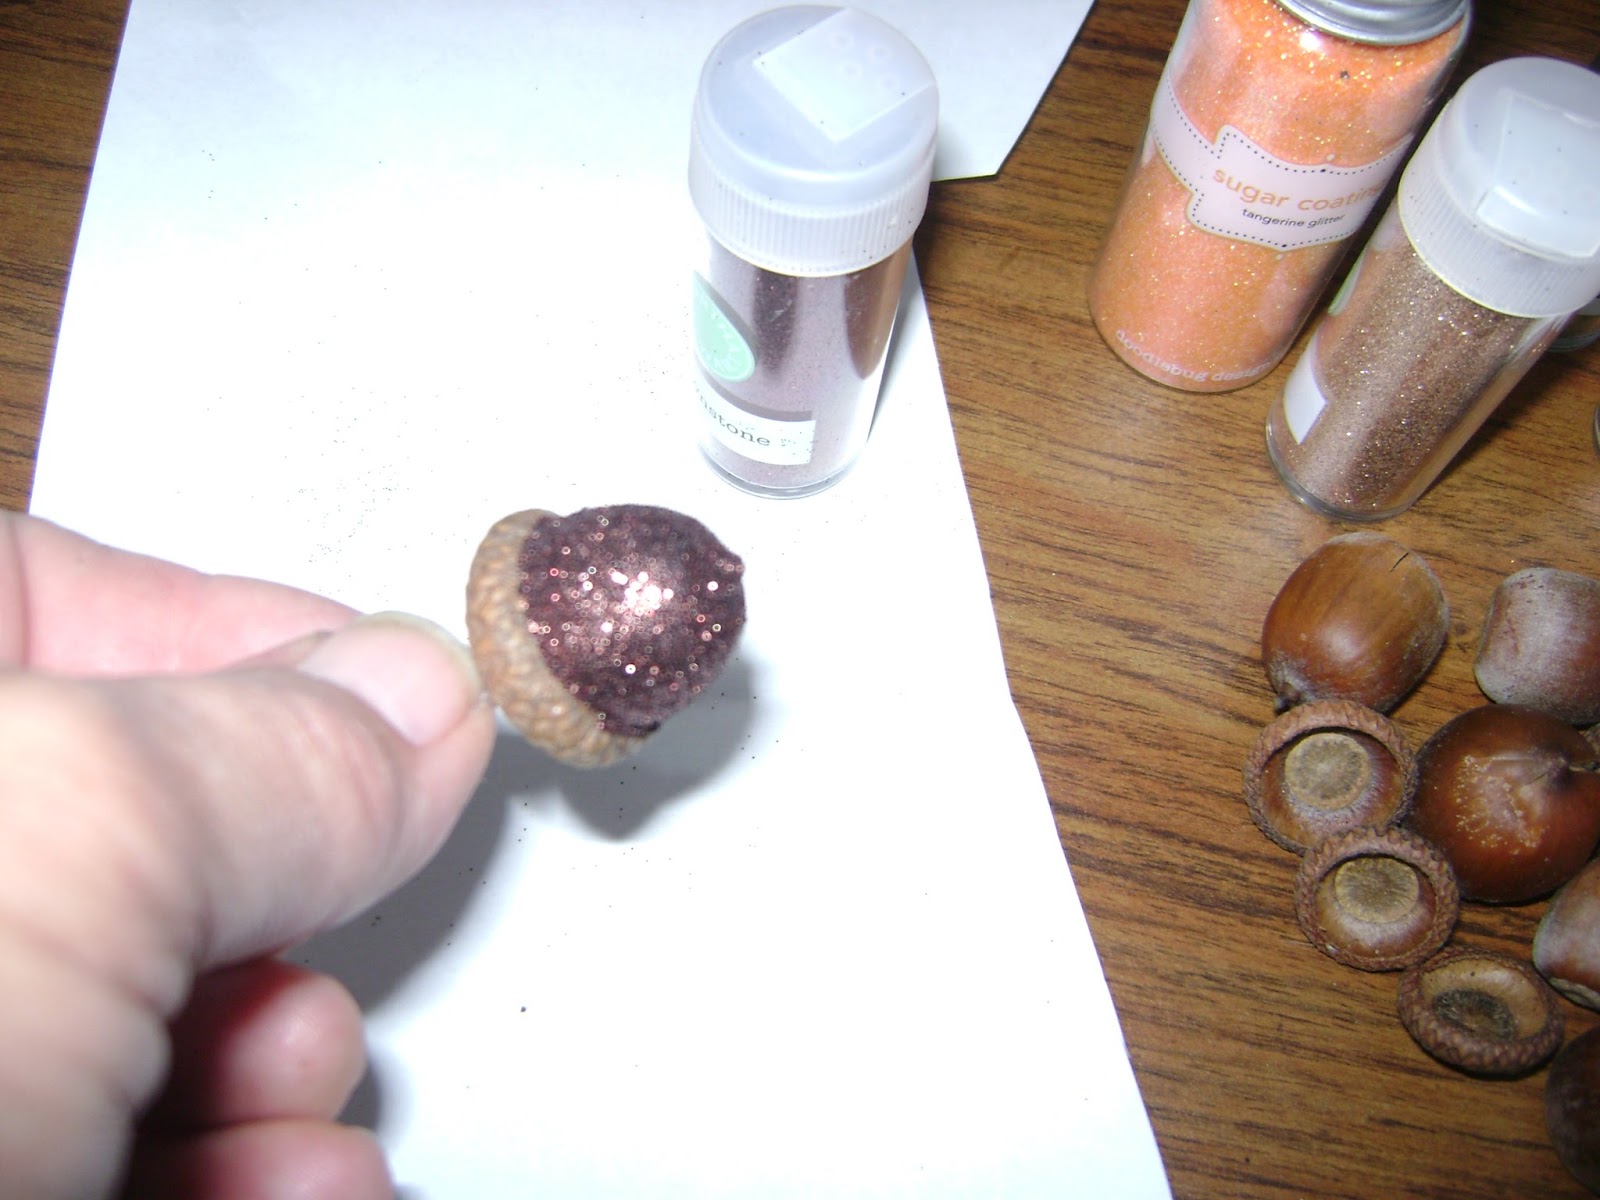
3. Glitter what ever colors you want. I used Orange, Copper, Bronze, Brown, Green, and smoky Quarts. Mine were Martha Stewart brand. I used them because that is what I had.
4. Elmers Glue. and a paint brush.
5. Piece of scrap paper
How I did mine.
1. First I baked my acorns on a cookie sheet in the oven at 200 degrees for 2 hours.  Let them cool before you do anything else with them.
2. Check caps and hot glue any loose or fallen off caps back onto the acorn. Only takes just a little.
3. Brush elmers ( or other craft glue) onto just the acorn not the top.
4. Over top of your scrap piece of paper sprinkle with your glitter. Set acorn aside to dry on plastic bag or wax paper. Create a crease in your paper and put excess glitter back in container.
5. I left mine alone for a couple hours or so to dry.


THATS IT!
I did 10 of each color and it only took me about a half hour to do them all. ( not including the time it took me to have all my supplies out and ready to go).

Saturday, October 3, 2015

Creepy Candle Holder

Today's creation is kind of creepy. But I had fun trying to get it just right. It looks greener than it really is, the flash makes it look a lot brighter. I seen a similar thing on youtube but she used a glass container.

What I used
1. Pringles container ( cut down to about 5") you could use it as tall as you like.
2. Glue gun and a glue stick.
3. Black spray paint. Walmart brand .99 cents
4. 1 small piece of parchment paper ( you could use wax paper or none) I liked how it diffused the light of the tea light
5. Black craft paint. and a small brush.
6. Olive green paint and glow in the dark green paint.
7. 1 battery operated tea light. No regular candles please this is a paper container.

How I did it.
I first drew my mouth and eye shape on the can with a marker. It doesn't matter if you make a mistake like I did. because the paint will cover it.
after cutting out the one eye I flipped the shape over to the other side to use as a template for the second eye. Then I cut out the second eye and the mouth shape.


I then started dripping hot glue from the top of the can and letting it run down the sides. Not real close together at first,otherwise it makes big wide drips because it joins together. Once the first circle around of drips is dry I then went back and started adding more in between.
When I was happy with this, I then started to concentrate on his face area, adding more and more drips and trying to get them to cover the eye area. Without dripping all the way down and getting stringy.


I was going to use the chalkboard paint but changed my mind, it was not covering like I wanted it to. I chose to spray paint it black, that was the fastest way for me. But you could use regular black craft paint. 
When the black paint was dry I dry brushed the olive green onto the drips and just a little around the can in some areas. Let it dry.
I then dry brushed the glow in the dark green onto the drips.
I was happy with the way it looked with just the olive. Not sure how I feel about the glow paint. I may go back and redo the black and olive green.
I then painted the inside of the can with black craft paint and hot glued a piece of velum paper over the face on the inside. 
This made it so you could not see the tea light itself but you can see the light when its on. Gives a nice glow.


This is what it looked like when I was done.

Thursday, October 1, 2015

My Halloween Invitations

My Halloween Invitations
 
What I used, for the card and envelope.
 
1. Recollections 5x6.5 white cards and envelopes (Michaels's brand)
2.StazOn Jet Black ink pad (Any black ink stamppad will work)
3.Ranger antique linen distress ink pad (You can use any yellow stamppad)
4.Cuttlebug brand haunted house embossing folder
5.Dollar store makeup sponge
6.Stampabilities Mummy stamp
7.Variety of Craftsmart rubber stamps (Michaels brand)
 
How I did it.
1.Fold your card at fold line. In upper right corner apply a small amount of the antique linen ink to your makeup sponge. In a gentle circle motion apply your ink to card. This will be where the moon is located. You can practice on a scrap piece of paper.
2.Put your card front face up in your embossing folder and place it so the embossing will be centered on front of card. Run through your embossing machine following the directions of your specific machine.
3.Remove from embossing folder and apply black ink to your sponge ( you can see in picture that I used to different areas on my sponge for the ink) Again in a gentle circular motion apply the black ink over your embossed house image. You can see that I just used enough black ink to make the house stand out a little more.


For the envelope I stamped on the front and back. Leaving room to write address to person invited and for the U.S.P.S. stamp in upper right hand corner. Below is photo of what I put on inside of the card. Minus personal information. I printed it on separate paper instead of directly to the card. That was just easier for me.


I hope you enjoyed this card. I wanted to keep it simple because I had quite a few to do.
 
Thanks So Much for dropping by. If you repost or share PLEASE include my blog information.
Deanna


Spooky Candelabra

Spooky Candelabra
Getting ready for Halloween! While cleaning out my grapevines the other day I noticed that some of them look pretty creepy. Into my scary mind pops in a candelabra for the Halloween party décor. So here is what I created with the off the cuff style of my brain bubble.

Here is the list of what I used.
1. Glue gun and glue stick (less than one glue stick used)
2. Dollar store candle holder ( mine came from thrift shop and was .50 cents)
3. Grape vine creepy shape. ( could be any branch from tree or bush that looks creepy to you and will fit into the candle holder) I cut mine at about 14" long.
4. Tea light (battery operated ones). I recommend no live flames.(I used 4 tea lights) I only buy them on sale. These I had from my daughters wedding.
5. Wal-mart fast dry spray paint flat black ( my store sells for .99 cents.)
My total cost for this craft was less than $3.00.  How awesome is that.

Here is how I created the candelabra.
1. I took each tea light and created small puddles of glue along the edge of top letting it drip down the side of the tea light. If it started to go to far I gently blew on it to help it set up faster.
Here I put a little paint on the drips so you could see it. My camera wouldn't take a good picture without the color difference.
  2.Test each tea light before gluing down. Make sure that the on off switch is clear so you can use it. I placed a small dab of hot glue on the battery cover area. Glue each tea light onto your choice of branch tips. I kind of held them in different areas before gluing down to see where I liked them.
3. Place a puddle of hot glue into the candle holder and insert the bottom of the branch into glue holding in place until it sets up. Top off with hot glue to the rim. This will secure it well. If you like when this is set up you can create drips like you did with the tea lights. Sorry pictures are on there sides.


4. In a well ventilated area ( I do mine outside) following the directions on can, spray paint your candelabra. Let dry and you are finished. I found this so cute and easy to do. When turning your tea lights on, tip candelabra upside down and carefully flip each switch. ( because they are hot glued on it can be delicate) I have turned mine off and on several times with none of them coming off, but I am careful.
 
 If you share this craft from me PLEASE link back to or mention my blog.  
 
I hope you enjoy this craft.
Deanna