Pages

Saturday, October 10, 2015

Broom Parking

This was created on a large wood tag. ( I purchased at Meijer for .50 cents a couple years ago)
The hat and the broom are stamped on and then I used embossing powder on them. The lettering was done with a Color Burst FABER-CASTELL marker. These are nice because they allow you to write on dark colors. I also like it because I didn't have to try and hand paint the lettering. The toad was cut out on my CRICUT machine, I used the Potions and Spells cartridge.
Total time to finish not including drying time for paint, was less than 1/2 hour.
Thanks for dropping by. Come again soon. If you like my blog please share with your friends.
Deanna

The Halloween Count down I made for my daughter

I made her Halloween Countdown similar to my own. Except hers is on a different size board. I only paid $1.00 for it at the same church resale shop. I stamped the flying witch on top of the moon. I also stamped the cat and a different spider than I used on mine.
The same materials were used on both.

Friday, October 9, 2015

When Witches go riding Halloween count down.

I see these on the different sites. But I can't see paying for something I can create myself. It turned out just like I wanted. I am working on a second one for my daughters house.

How I did it. 
1. I got the board from a church discount store for $1.25 . It had some kitchen saying on it, This is 8" x 18" by 1 1/2" deep.
2. I painted the whole thing with black craft paint. I then painted an area with black chalkboard paint. It's big enough for the pumpkin I cut out to fit on ( I cut the pumpkin like we used to do hearts in school, fold paper in half and cut shape this way your sides are the same.)
3. I then painted the whole thing orange holding my pumpkin in place with one hand while painting around it. You want to paint from on top of the pumpkin pulling out onto the board. Otherwise you get paint underneath the cut out.


 4. I cut out a circle and used that as a stencil for my moon, this time painting from the paper into the circle to keep paint from getting all underneath. This was done with a liter orange paint.
 The start picture is closest to real color. Other colors are due to lighting in my room.
 5. With a sharpie marker I laid out my trees and wording. You could use a pencil if you like.

 6. With some of my stamps and StazOn ink I stamped the spiders skull, bat and little skeleton man.
7. With black craft paint I then painted over the sharpie writing and the trees.

 It went together quite quickly. Allowing for time in between for my paint to dry it was only a couple hours. Oh the cat I cut out with my cricut cutting machine.
This is not my idea but if you share my picture please mention my blog or link back to it. Thanks for stopping by. Come back and visit again.
Deanna

Thursday, October 8, 2015

My believe chip board phrase


 What I used.
1. Hobby Lobby believe chip board
2. Teal paint for around edges and paint brush
3. Regular card stock  with teal snow flakes
4. Glue, Hot glue
5. Cricut machine to cut 3" sleigh, 2" reindeer, Santa
6. Red, Green and Silver mirror poster board. (Hobby Lobby)
7. Snow Tex

 Sleigh is cut from the red, green and silver poster board. the words snow on the bottom are from the silver also. ho ho ho is from the red.
Red and Green Stickles are used for the reindeer collars.

 I used hot glue to glue all the pieces along the top of the phrase.

 The chimney I cut out myself and used pen to create the bricks. I wanted it to fit on top of the letter b perfectly.
 I used a 3" paper doll body from cricut to attach pants boots and jaket for Santa. I cut off the arms so he fit in the chimney. He was glued upside down in the chimney, then I glued the chimney to top of the b.


Feels weird to be working on Christmas things, but it was fun and I am happy with the outcome.

Thank You for visiting my blog. I hope you enjoyed your visit. Come back again soon and if you share my idea please link back to or mention my blog.

believe chip board phrase with Guest crafter Loie.

While shopping a couple weeks ago at Hobby Lobby we came across these believe chip board words. They were 50% off so only about $3.00. We each purchased this and a snow flake. Yesterday we  worked on them and this is the outcome from our Adventure. We ended up with two cute ideas with the same phrase.

What she used.
1. Hobby Lobby chip board phrase believe.
2. Teal paint for outside edges, paint brush
3. Iridescent teal specialty paper from Hobby Lobby
4. Glue, Glue stick and glue gun.
5. Christmas beads, Holly leaves, Tiny pine cones, Snow flakes and  Deco-Art SnowTex
How she did it.
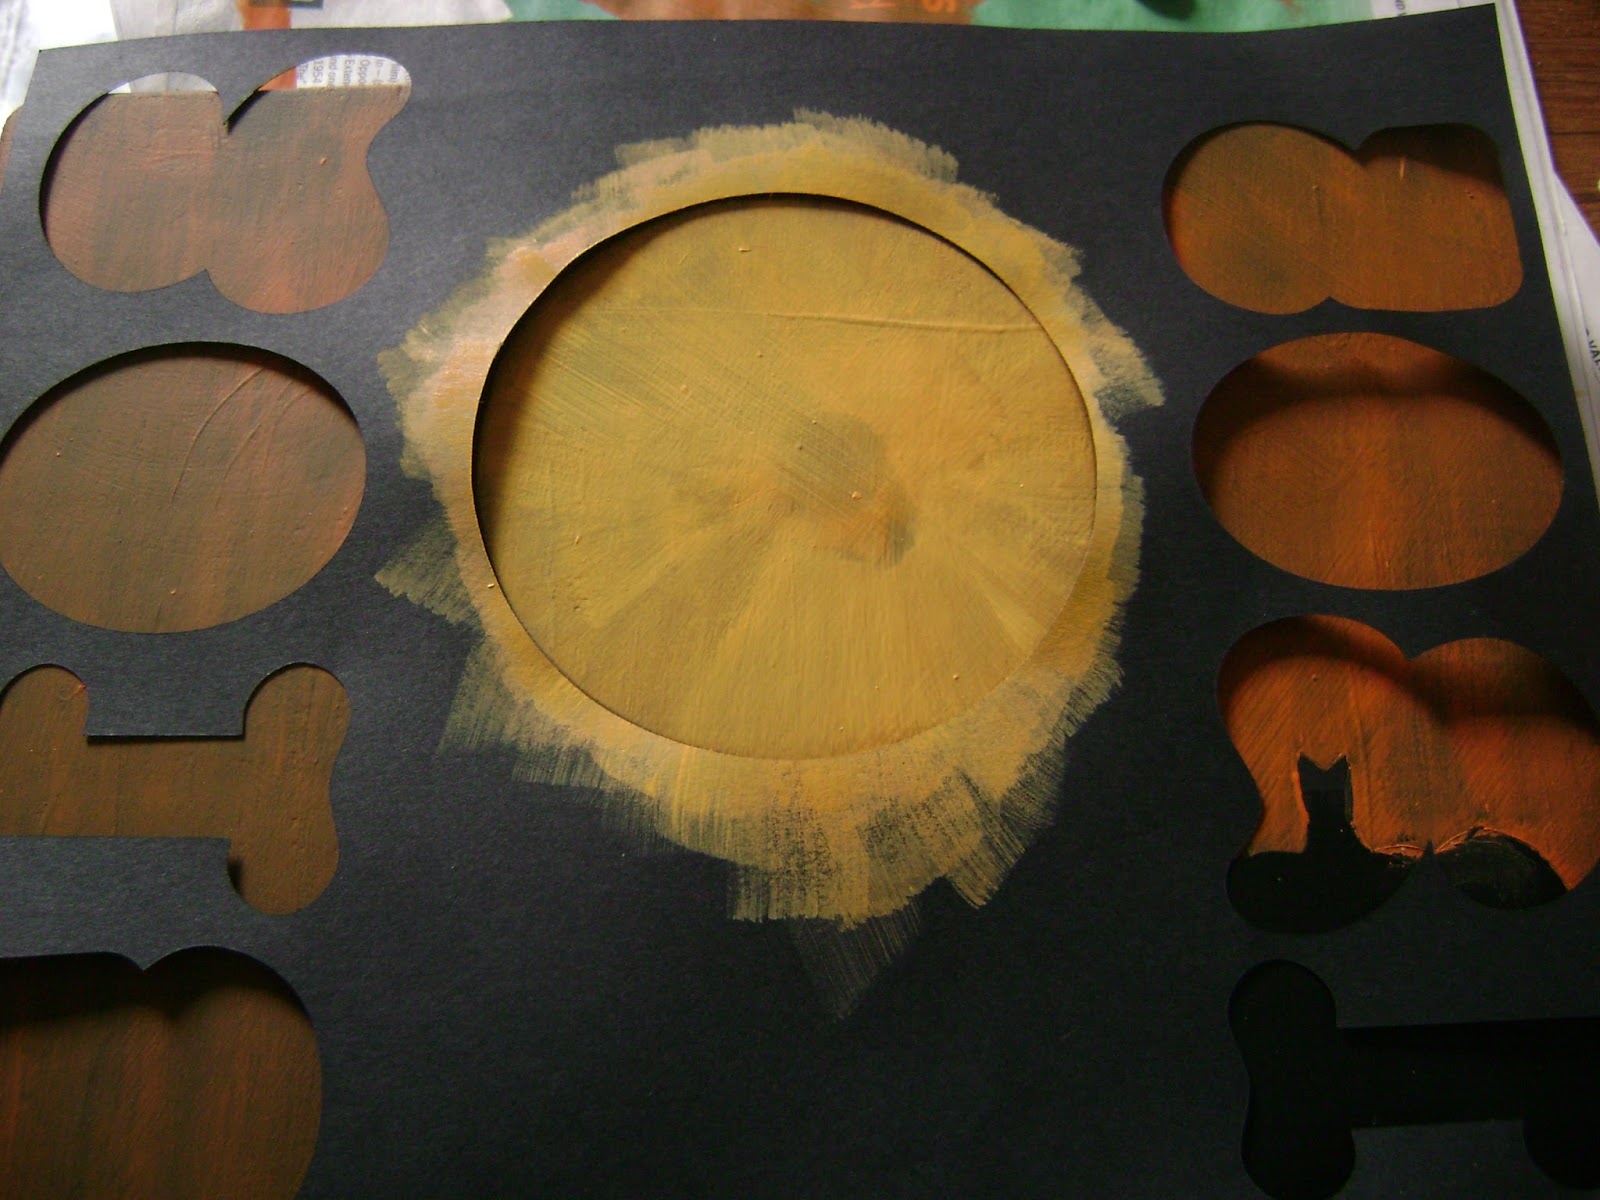
1. She placed paper on first. We then found that it was easier to paint the edge prior to gluing paper down. Because of the kind of paper she used any paint that accidentally got on paper she was able to wipe off.
2. Paper was 12" x 12" so had to be re-positioned to cover the whole phrase. You could slightly see where it was joined together, but she knew she was going to be able to cover this with some of the embellishments she had picked out.
3. She then started laying out her embellishments, but not gluing them down. After finding the perfect spot for each piece, she used hot glue to place each piece where she wanted them.
4. She wanted snow on the piece. Trying first puffy paint. This did not look like snow to either one of us. So I got out the Deco-Art SnowTex she used a small spatula tool to place it where she wanted.
Her finished phrase was so cute. This is so much better looking in person.
Sorry about the mess behind her.
I hope you enjoyed Loie's believe craft. Check out her snowflake.
1. Again here she used a chipboard item from Hobby Lobby.
2. Glitter paper on top and white paint around the edges.
3. Teal and Silver glitter snow flake embellishments
4. Pink Holiday pick that was disassembled and hot glued down.
5. Pink Stickles 

After putting pink Stickles around the edge she desided she did not like the look of it. She removed it and is planning on doing a silver glitter edge. 

We had a Great Day together, But then again we always do.
Thank You for dropping by. If you like what you see please join me again. If you share please mention my blog or link back to it. 
Deanna

Sunday, October 4, 2015

Small Haunted Cemetery 13" tall on a 6" wood base.

First I was just going to do a little cemetery. Thought it would be cute for my Halloween display. But anyone who know's me, knows I can't just do anything simple. I always seem to have to over do it. Oh well it turned out cute as ever and I love it!

What I used:
1. a 6" wood circle from Hobby Lobby craft dept.
2. Black spray paint
3. Very small detailed branches from my yard. I cut mine at about 13"
4. Glue gun and glue sticks.
5. Black, Gray and Green craft paint and a  Paint brush.
6. Thin card board I used priority mail box that I had from a package I recieved.
7. Cricut machine to cut my House, Spooky gate, and the fince. You could not use these and draw out and cut your own items. Or just do the cemetery with the trees.

What I did:
1. Spray painted my branches black ( Follow directions on can) I used Walmart brand flat black. .99 cents a can.
2. Paint the 6" wood circle black with black craft paint. Let dry
3. Glue branches onto wood circle.


4. Draw and cut out your tomb stones. mine are all about 1" tall. I cut 2 of each from the thin cardboard and glued them together to create the thickness I wanted.
5. Paint them gray with craft paint. I used a green ink pad to enhance the edges but it can be dry brushed a little green around each one to make it look old.
6. Hot glue tomb stones onto wood circle. I did 3 on each side. I would have used more if I stayed with the cemetery only theme.
7. I added green flocking around my trees and then my tomb stones. If you can't find flocking ( I purchased mine at Michael's quite a while back I'm not sure they carry it anymore) you can use green paint or just cover your hot glue that is visible with black paint.
8.With my Cricut machine I cut my house at 12" and added some velum paper to the back to cover the windows.
9. My fince I cut at 1 1/2" the spooky gate was cut at 3"
10. I hot glued these items to the outside edges of  the circle.

11. I used my hot glue gun to create small miss shaped rocks for my walkway from the gate to the Haunted house. When they dried I painted a little craft glue on each one and covered them with the green flocking. Again you could paint them what ever color you want. or not make any at all. 
THATS IT!
I found this display so charming and cute. it really is so small. I hope you enjoyed the house tour. If you share this please link back to or share the information to my blog. 
Thanks for dropping by. Hope to see you soon.
Deanna

Glitter Acorns for Fall

What I used:
1. Acorns from my friend Val's house. She lives in acorn heaven.
2. Glue gun and glue sticks
3. Glitter what ever colors you want. I used Orange, Copper, Bronze, Brown, Green, and smoky Quarts. Mine were Martha Stewart brand. I used them because that is what I had.
4. Elmers Glue. and a paint brush.
5. Piece of scrap paper
How I did mine.
1. First I baked my acorns on a cookie sheet in the oven at 200 degrees for 2 hours.  Let them cool before you do anything else with them.
2. Check caps and hot glue any loose or fallen off caps back onto the acorn. Only takes just a little.
3. Brush elmers ( or other craft glue) onto just the acorn not the top.
4. Over top of your scrap piece of paper sprinkle with your glitter. Set acorn aside to dry on plastic bag or wax paper. Create a crease in your paper and put excess glitter back in container.
5. I left mine alone for a couple hours or so to dry.


THATS IT!
I did 10 of each color and it only took me about a half hour to do them all. ( not including the time it took me to have all my supplies out and ready to go).

Saturday, October 3, 2015

Creepy Candle Holder

Today's creation is kind of creepy. But I had fun trying to get it just right. It looks greener than it really is, the flash makes it look a lot brighter. I seen a similar thing on youtube but she used a glass container.

What I used
1. Pringles container ( cut down to about 5") you could use it as tall as you like.
2. Glue gun and a glue stick.
3. Black spray paint. Walmart brand .99 cents
4. 1 small piece of parchment paper ( you could use wax paper or none) I liked how it diffused the light of the tea light
5. Black craft paint. and a small brush.
6. Olive green paint and glow in the dark green paint.
7. 1 battery operated tea light. No regular candles please this is a paper container.

How I did it.
I first drew my mouth and eye shape on the can with a marker. It doesn't matter if you make a mistake like I did. because the paint will cover it.
after cutting out the one eye I flipped the shape over to the other side to use as a template for the second eye. Then I cut out the second eye and the mouth shape.


I then started dripping hot glue from the top of the can and letting it run down the sides. Not real close together at first,otherwise it makes big wide drips because it joins together. Once the first circle around of drips is dry I then went back and started adding more in between.
When I was happy with this, I then started to concentrate on his face area, adding more and more drips and trying to get them to cover the eye area. Without dripping all the way down and getting stringy.


I was going to use the chalkboard paint but changed my mind, it was not covering like I wanted it to. I chose to spray paint it black, that was the fastest way for me. But you could use regular black craft paint. 
When the black paint was dry I dry brushed the olive green onto the drips and just a little around the can in some areas. Let it dry.
I then dry brushed the glow in the dark green onto the drips.
I was happy with the way it looked with just the olive. Not sure how I feel about the glow paint. I may go back and redo the black and olive green.
I then painted the inside of the can with black craft paint and hot glued a piece of velum paper over the face on the inside. 
This made it so you could not see the tea light itself but you can see the light when its on. Gives a nice glow.


This is what it looked like when I was done.